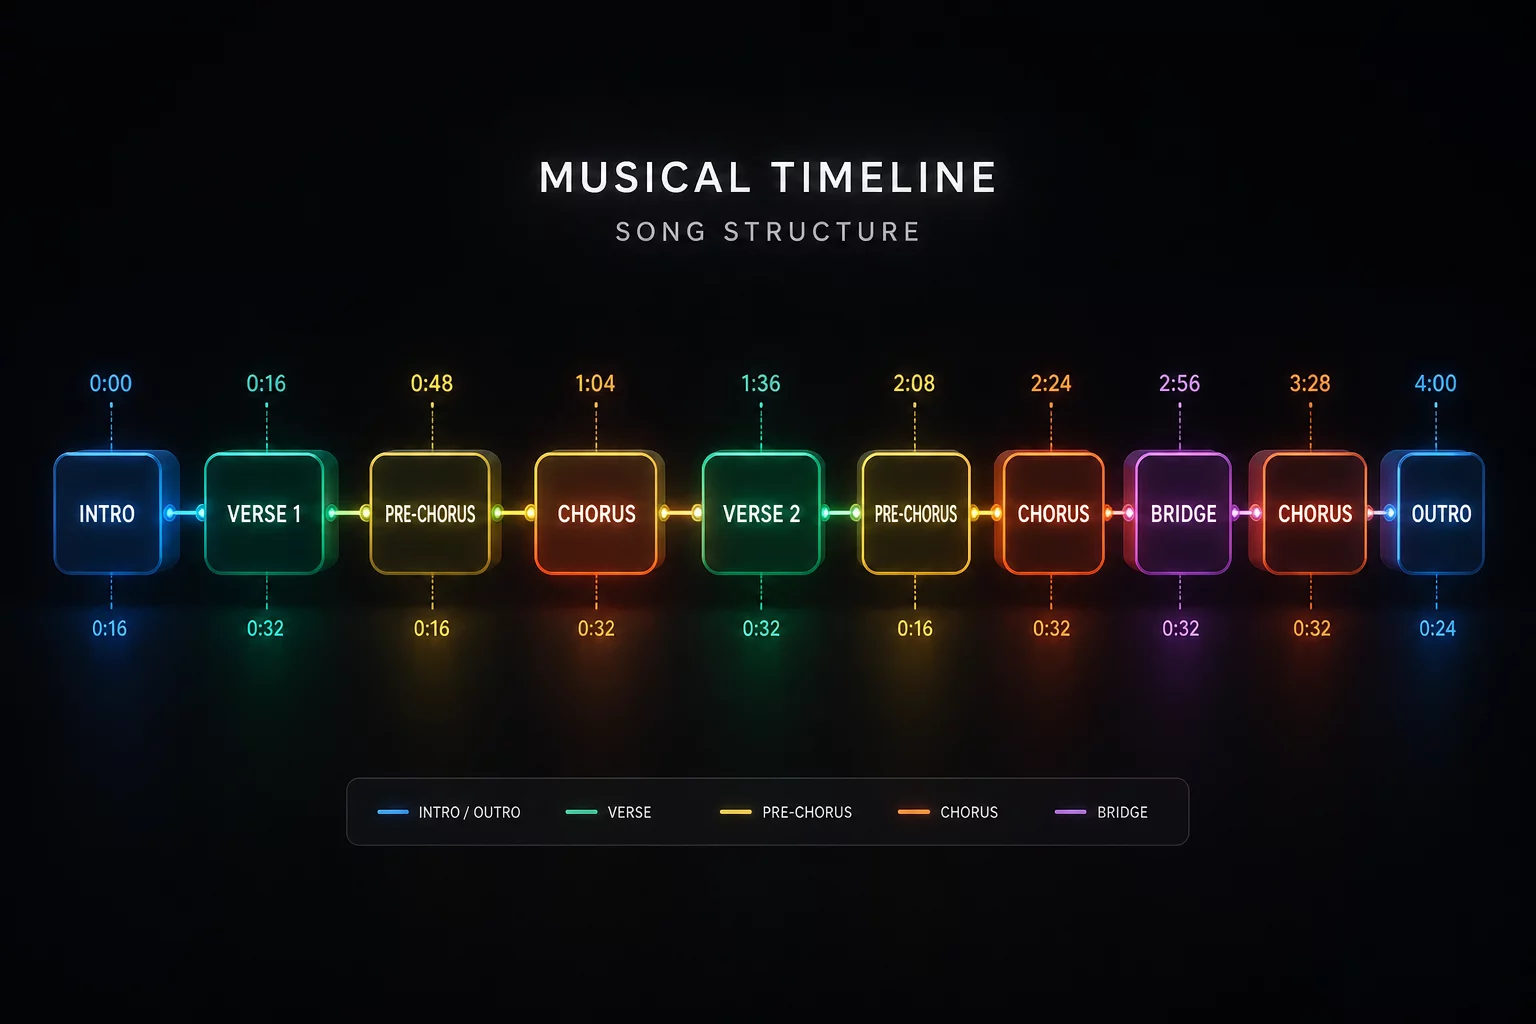
Deploy active loop points during track outros to stretch fading grooves, preserve harmonic momentum, and eliminate rigid transition deadlines.
Modern club arrangements often conclude with an abrupt drop in musical density. When an outgoing track strips away its percussion over an unexpected 8-bar period, the incoming track faces an acoustic void. Sticking to conventional fader transitions forces performers into a race against the timeline, resulting in premature volume drops or awkward clashes.
An exit loop systematically captures a cohesive 4-bar or 8-bar percussive groove right before the master arrangement fades. By locking this rhythmic foundation in Serato DJ Pro, artists decouple the transition from the track duration, buying unlimited time to align phrases, balance equalization, and shape emotional energy on the dancefloor.
Set the exit loop within Serato DJ Pro track preparation and assign it to a dedicated Saved Loop performance pad. Activating the loop before bar 48 of the outro guarantees stable rhythmic playback and eliminates any risk of silence during high-intensity live routines.
This technique alters mental focus behind the decks. DJs shift from mere survival mode—desperately tracking seconds until the waveform finishes—to expressive architectural mixing, introducing high-pass filtering and vocal stems from the incoming selection with surgical precision.
Capturing an exit loop becomes twice as effective when combined with modern stem isolation. Muting residual vocal fragments or abrasive high-frequency leads in the loop leaves an unencumbered drum groove that acts as a custom drum bed for whatever follows.
Isolate the kick and hi-hat transients within the 4-bar boundary to preserve rhythmic momentum while layering an ambient introduction over it.
Roll off the sub-bass below 120 Hz on the exit loop to avoid low-end mud when the incoming baseline strikes on the first beat of the phrase.
Layering an exit loop underneath an intro prevents the perceived energy from dipping during extended builds. Audiences experience unbroken propulsion, unaware that the rhythm section belongs to a record that nominally finished two minutes earlier.
Ending an exit loop requires intentional timing. Rather than slamming the channel fader shut, gradual attenuation or rhythmic loop division creates natural tension. Tapping Serato's loop exit on the downbeat of the new chorus allows reverb tails to dissipate naturally.
Combine Serato's loop release with an automated 1/2 beat tape delay on the outgoing channel. The resulting tail softens the departure, ensuring no jarring clicks or unnatural silences disrupt the transition.